The humble hummus. Holy wow, there is A LOT of information out there about hummus! There are several schools of thought on how to make the perfectly silky, smooth hummus worthy of serving to Greek gods themselves. I mean, have you googled “how to make hummus” lately? Go ahead, I’ll wait ….

So, now you have seen that there are many posts that claim to be the BEST hummus (and maybe they are). I like to think the best hummus is the hummus you like most, so until I’ve tried every recipe, I’ll reserve my judgement. 

Other than the number of “best” hummus’, there are lots of posts on how to achieve this “best” result. Holy moly. Everything from canned vs. cooked chickpeas, to boiled or straight out of the can, to adding baking soda if boiling, to removing the husks after boiling, to the amount of tahini which varies widely …. My goodness, this isn’t supposed to be this complicated right? 

So here I share with you how I make my hummus. It’s not flashy; and I have no war stories. It may not even be the best, but it’s pretty dang good. It’s the best for me, and hopefully you’ll like it enough that it falls somewhere on top of your list, which is plenty good enough. Let’s look at some of the common techniques deployed in pursuit of the “best” hummus: 

  • Canned vs dry chickpeas – I use canned, because dry chickpeas requires soaking and I have too much to do in my day to remember to soak my chickpeas the night before, in case I wanted to make hummus the next day.
  • Pre-boil vs straight out of the can – I pre-boil because I do find this helps make the texture smoother and creamier.
  • Baking soda when boiling – I don’t, because I’ve tried and I haven’t noticed much difference. Maybe it would be more discernable in large quantities? Baking soda raises the PH of the water which is supposed to help break the chickpeas down even softer. I won’t argue with science; but the results aren’t that noticeable to me, especially if you blend the ingredients in the right order (tahini/lemon/garlic first then add the chickpeas), and have the patience to let your food processor do its job and let it run until silky smoothness is achieved.
  • Removing the husks – I don’t, because I am too lazy. Seriously, removing the husk? I am patient but not THAT patient. That’s what my food processor is for.
  • Amount of tahini – I use a lot. Like 1/2 cup. Because I like the nuttiness and I think the overall taste is better with more tahini. This makes it “best to me” hummus.
  • Adding an ice cube into the mix – I do this, because it’s fun. But other than that, it serves the same purpose of cold water, which is key to hummus.
  • Lemon & garlic – I like both and in amounts I can taste. Lemon is essential in giving hummus its acidity, otherwise it would taste flat. And garlic, I love garlic, so I go a little heavy here. Adjust the amount to suit your own style of “best” hummus.

Another thing I want to mention, is the amount of recipes that are called EASY hummus. (The best is “BEST EASY HUMMUS”, gotta love it). Making hummus is throwing a handful of ingredients in a blender or food processor. Does it really require the “easy” label? I mean, I get that there is technique (as most “easy” recipes are simple in ingredients, but require fineness and technique – case in point: Carbonara which I would never label “easy” by the way). But hummus?? I’d like to see what the “not easy” version involves.

Alright, I’ll get off this soapbox now. Honestly though, hummus is easy. And the BEST hummus is within your reach, made in your own way, to perfectly suit your own taste. I mean, that is the definition of “best” in my humble opinion. So go out there, and get started. Let me know what you do or don’t do, or what other crazy ideas you have to getting to your best hummus on.

(Wow, I never knew I had this much to say about hummus. I continue to surprise myself everyday, ha!)

Basic Hummus

Quick and easy basic hummus recipe.
Print Pin Rate
Course: Appetizer, Dips
Cuisine: Mediterranean, middle eastern
Keyword: chickpeas, dips, garbanzo beans
Prep Time: 20 minutes
Servings: 8
Calories: 175kcal
Author: Bonny B

Ingredients

  • 1 can chickpeas (15.5oz), drained
  • 1/2 cup tahini
  • 1/3 cup fresh lemon juice
  • 2-3 cloves garlic, adjust to taste as some cloves are different sizes!
  • 1/2 tsp cumin
  • 1/2 tsp paprika, optional
  • 1/2 - 1 tsp salt, but adjust to taste
  • 2 tbsp olive oil
  • cold (iced) water, 1/4 - 1/3 cup, depending on desired consistency

How I Make It

  • Drain the chickpeas and boil them in water for about 15 minutes. They should be super soft by the end. Once softened, drain and rinse in cold water to cool them down.
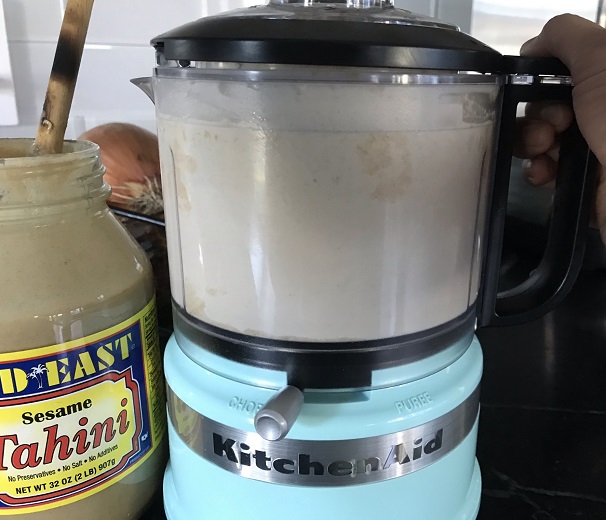
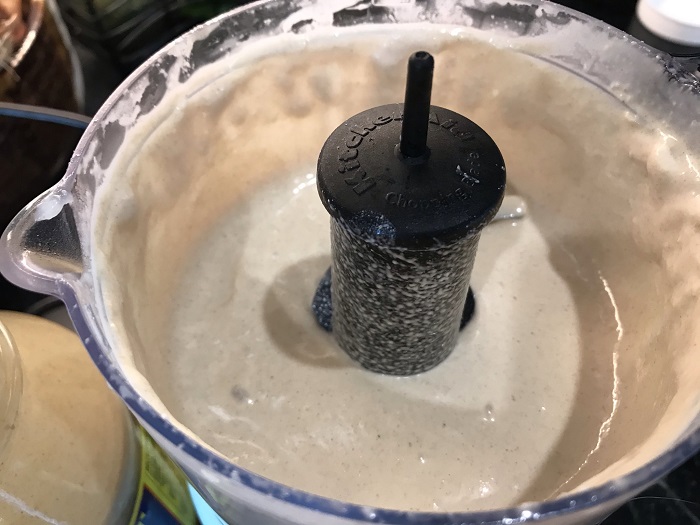
  • Combine garlic, tahini, lemon juice, olive oil, cumin, paprika, and the cold water in a food processor and blend until smooth. This should take a few minutes, so be patient! If the tahini starts to seize up add a little more water.
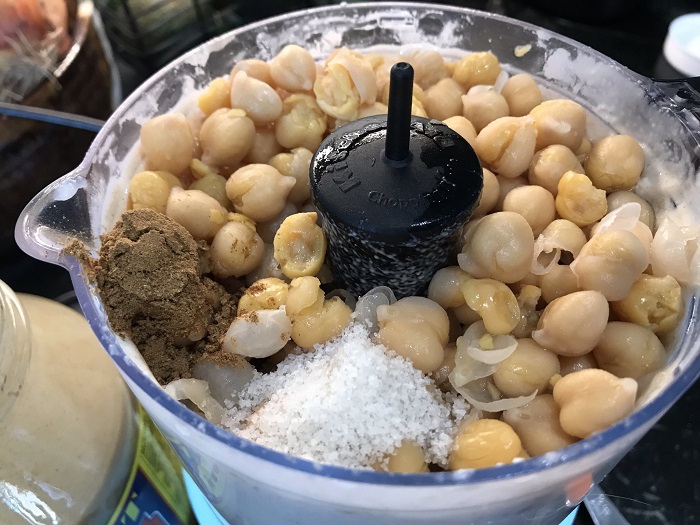
  • Once the tahini is silky smooth, add the cooled chickpeas. Blend again until silky smooth. This will take a few minutes again. Add your salt, and occasionally stop and taste to see if this enough. Check for consistency and add more cold water if it is too thick for your liking (see note on consistency). Even throw in a couple of ice cubes (trust me!)
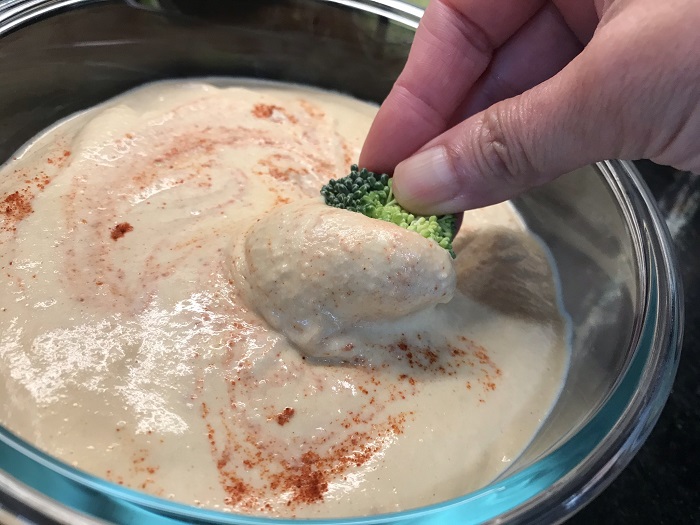
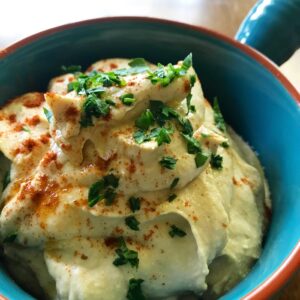
  • Once the hummus is silky smooth, seasoned to your liking, and has your desired consistency, serve in a bowl sprinkled with some smoked paprika and drizzle with olive oil.

Notes

  • Consistency is completely a personal preference. Some people like thicker hummus like a spread, others like thinner hummus like a dip. Add cold water and/or ice cube a little at a time until you achieve the consistency you like. Note that the hummus will thicken a little (become a little drier) as it cools in the fridge. In this recipe, I use 1/3 cup of cold water and a couple of ice cubes. This produces a runnier consistency more like a dip. Use less water if you prefer thicker texture.

Nutrition

Calories: 175kcal | Carbohydrates: 12g | Protein: 6g | Fat: 13g | Saturated Fat: 2g | Sodium: 599mg | Potassium: 167mg | Fiber: 3g | Sugar: 1g | Vitamin A: 19IU | Vitamin C: 5mg | Calcium: 44mg | Iron: 1mg

Leave a Comment

Your email address will not be published. Required fields are marked *

Recipe Rating